Category: Materials

  • Setting Up a Small Studio in a Shared Room

    Most people work in a room that is also something else. The constraint is not space so much as the cost of setting up and putting away, because anything that takes fifteen minutes to prepare will not get used on a short evening.

    Reduce the setup cost

    The aim is to be working within two minutes. A board that lives ready with paper taped to it, a palette that closes with the paint still in it, and a single container of water do more for output than any amount of extra space.

    A wet palette is particularly valuable here, because it removes the need to remix from scratch each session.

    Light

    Consistent light matters more than abundant light. Working under a warm bulb one evening and daylight the next makes colour decisions unreliable, and it is invisible until you compare the results.

    One decent daylight-balanced lamp positioned to the side of your working hand solves both the colour and the shadow problem cheaply.

    Containing the mess

    The realistic worry in a shared room is damage. A sheet of hardboard as a work surface, a lidded water container and a rule about where solvents may be opened will prevent nearly all of it.

    Aerosols, fixative included, should not be used indoors in a room people live in. That is a genuine health point, not a tidiness one.

    Drying and storage

    Drying space is the constraint nobody plans for. A wire rack or a few bulldog clips on a line handles it in almost no floor area.

    Store finished work flat and interleaved. Rolling paper introduces a curl that never fully comes out and makes framing harder later.
  • Drawing With Compressed Charcoal Versus Vine

    Drawing With Compressed Charcoal Versus Vine

    The two look similar in the box and behave like different media. Choosing the wrong one for the stage of a drawing accounts for a great deal of unnecessary frustration.

    Vine and willow

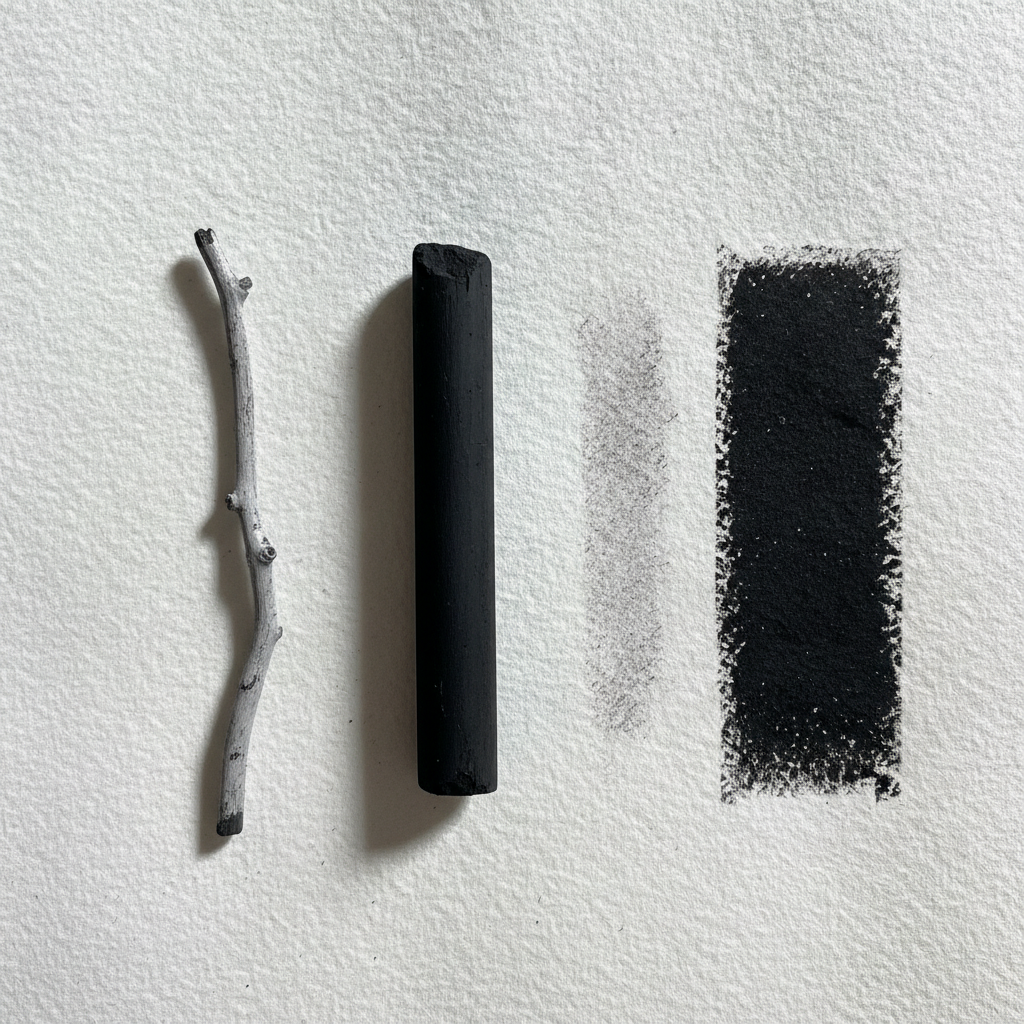
    Burnt twigs, essentially: light, dusty and barely attached to the paper. They lift almost completely with a cloth, which makes them ideal for the searching stage of a drawing where everything is provisional.

    The limitation is depth. Vine will not give a true black. Pushed hard it silvers and skids rather than darkening.

    Compressed

    Powdered charcoal held together with a binder. It is dense, goes very dark, and grips the paper. That makes it right for finishing, for the darkest accents and for anything that must survive handling.

    It is also close to permanent. Compressed charcoal in the wrong place will not fully erase, and the ghost stays visible in the finished drawing.

    Using them together

    The standard sequence is vine for construction, then compressed once the drawing is settled. Working the other way round means committing before you know where anything goes.

    A kneaded eraser is the natural partner to both. It lifts rather than abrades, so it can pull a highlight out of a dark passage without destroying the tooth of the paper.

    Paper and fixing

    Both need tooth. On smooth paper charcoal sits on the surface and smears at the first contact.

    Fixative darkens the drawing slightly and reduces the very lightest marks, so it is worth allowing for that before spraying. Light passes from a distance, several of them, beat one heavy pass that floods the surface and pools in the darks.

  • Caring for Natural Hair Brushes

    Caring for Natural Hair Brushes

    A good natural hair brush should outlast several synthetics. Most die early, and almost always from one of a small number of avoidable habits.

    The ferrule is the weak point

    Paint that works up into the metal ferrule dries there, spreads the hairs at the base and forces the brush to splay permanently. No amount of cleaning the tip fixes it once it has happened.

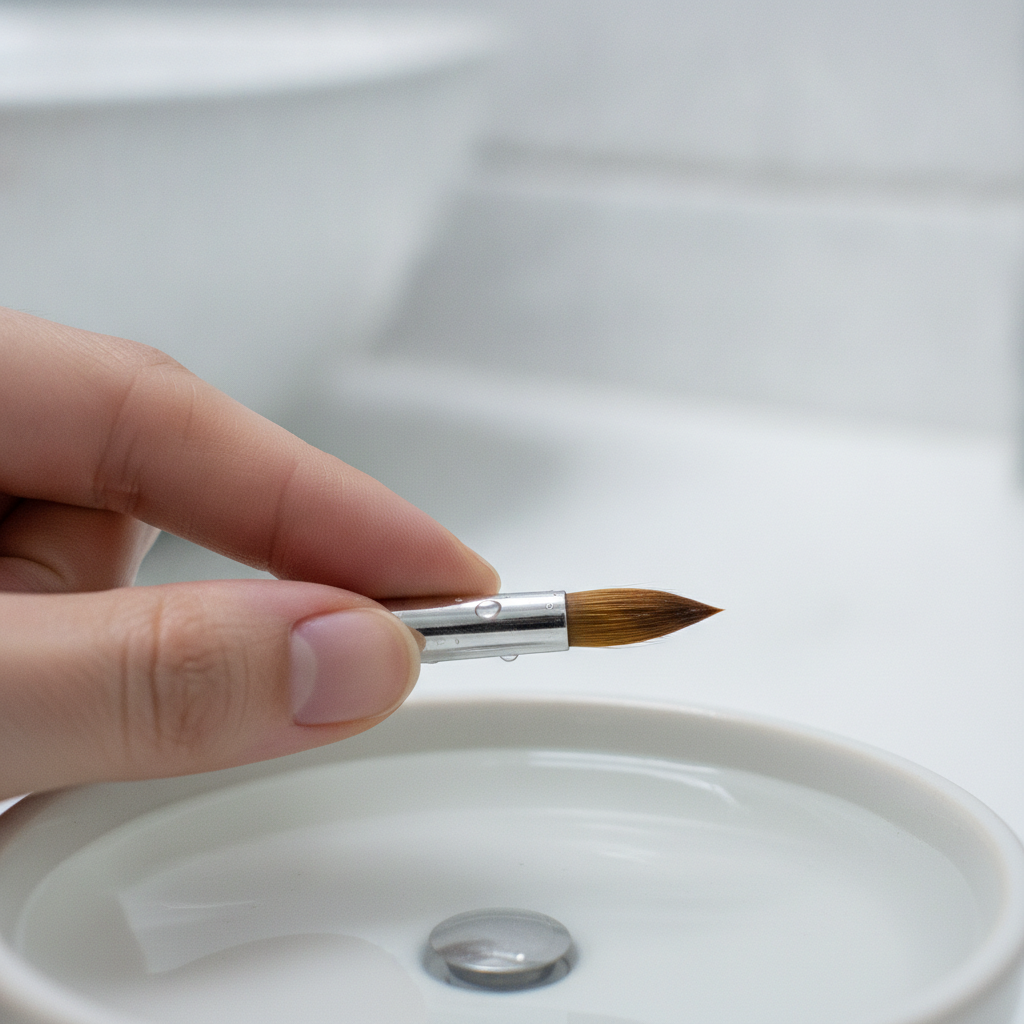
    So do not load paint past the belly of the brush, and when washing, work from the ferrule outwards rather than jamming the brush into the bottom of a jar.

    Water temperature

    Lukewarm at most. Hot water softens the adhesive holding the hairs and expands the ferrule slightly, and repeated exposure loosens the whole head. It also strips the natural oils that give sable its spring.

    Storage

    Flat, or hanging bristles down. Standing a brush upright in a pot lets residual water run into the ferrule, which is the slow version of the problem above.

    If brushes are stored in a closed roll, they must be completely dry first. Damp hair in an enclosed space grows mould, and moths are genuinely attracted to natural hair.

    Reshaping

    Reshape the point with your fingers while damp and let it dry that way. For a brush that has lost its shape, a little gum arabic or brush soap worked in and left to dry will hold the point; wash it out before the next use.

    Acrylic is different

    Acrylic dries in the brush and is effectively permanent once it has. If you use natural hair with acrylic, keep it wet continuously and clean it immediately. Most people are better off using synthetics for acrylic and saving natural hair for watercolour, which is what it is suited to anyway.

  • Stretching Canvas Without Warping the Frame

    Stretching Canvas Without Warping the Frame

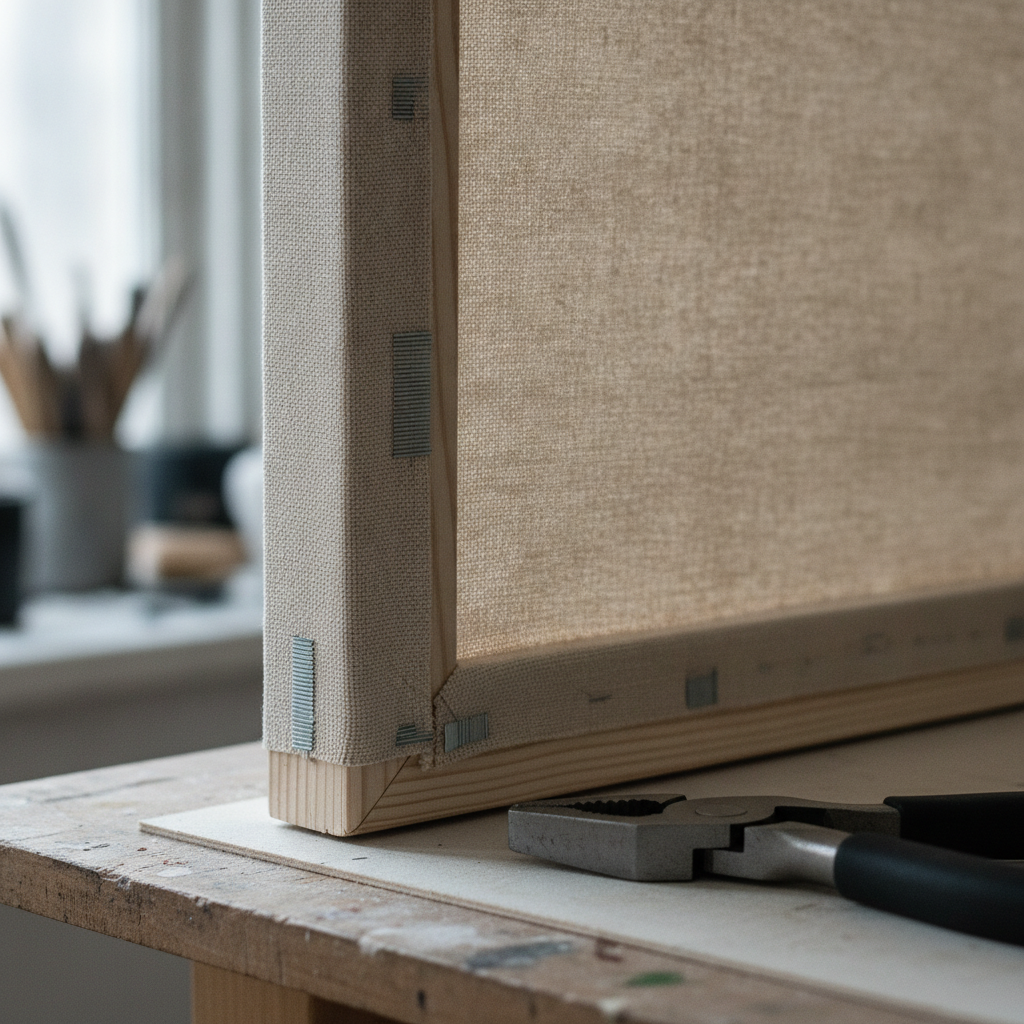
    A badly stretched canvas pulls its own stretcher bars out of square. The fault is almost always the order the staples went in rather than how hard the canvas was pulled.

    Work from the centre out

    Start with one staple at the centre of one bar. Move to the opposite bar, pull moderately, staple. Then the two remaining centres, again opposite each other. Only once all four centres are fixed do you work outwards, always alternating sides.

    Going along one bar and then the next drags the frame diagonally. That is what produces a stretcher that rocks on a flat surface, and no amount of later tightening corrects it.

    Tension

    The canvas should be taut, not drum tight. Over-tensioning bows the long bars inwards and puts permanent stress on the corners. A gentle push in the middle should give slightly.

    Raw canvas tightens as it is sized and primed, so it needs less tension at the stapling stage than feels right. Pre-primed canvas moves much less and can be pulled a little firmer.

    Corners

    Fold one side flat against the bar, then bring the other over it to make a clean diagonal. Staple through both layers. Keep every corner folded the same way so the frame is loaded evenly and the finished sides look consistent.

    Afterwards

    Check the frame is square by measuring both diagonals; they should match. If they do not, remove the staples along one bar and redo it, rather than trying to force the frame back with clamps.

    Canvas responds to humidity, so a slightly slack canvas in a damp month may tighten on its own. Corner keys exist for exactly this and should be tapped in a fraction at a time, checking the diagonals as you go.

  • Understanding Paper Weight and Tooth

    Understanding Paper Weight and Tooth

    Paper is the material most likely to be blamed for a failure that it did not cause, and the one most people spend least time choosing. Two properties explain most of its behaviour: how heavy it is, and how rough.

    Weight

    Weight is given in grams per square metre or pounds per ream. What it really tells you is how much water the sheet can take before it buckles. Around 300gsm is the point at which a sheet will handle generous wet work without stretching, which is why it is the default for watercolour.

    Lighter paper is not worse, it simply needs support. A 190gsm sheet taped down on a board behaves far better than a heavy sheet left loose, and costs a fraction as much for practice.

    Tooth

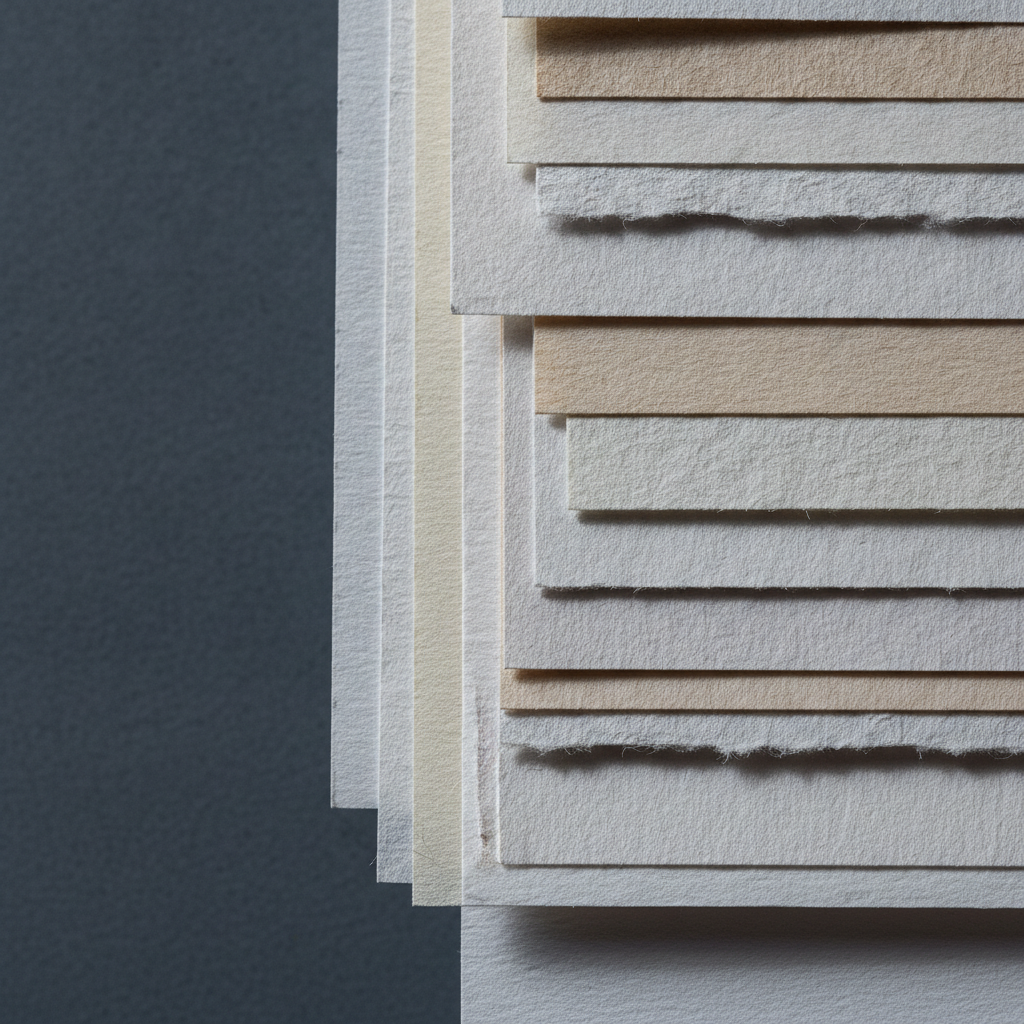
    Tooth is the texture of the surface. Rough paper has pronounced valleys that catch pigment and leave sparkle in a fast stroke. Hot pressed is nearly smooth, so washes sit evenly and fine detail stays crisp. Cold pressed sits between the two and is the sensible default.

    Dry media care about tooth even more than wet. Charcoal and pastel need something for the particles to grip; on smooth paper they slide and refuse to build up.

    Sizing, the invisible one

    Sizing is the treatment that controls how much liquid soaks in. Heavily sized paper keeps the wash sitting on top for longer, which allows lifting and reworking. Lightly sized paper drinks it straight down, so marks are immediate and permanent.

    This is usually the real cause of the complaint that a paper is “muddy” or that colour “goes dull”. The pigment has sunk below the surface where light no longer reflects off it cleanly.

    Choosing without buying everything

    Sample packs are the cheapest education available. Take one sheet of each, do the same simple exercise on all of them, a graded wash, a lifted highlight, a dry stroke, and label them. An afternoon of that teaches more than any amount of reading, this article included.