Category: Art Techniques

  • Printmaking at Home With Minimal Equipment

    Printmaking has a reputation for needing a press and a dedicated room. Relief printing needs neither, and it is the most rewarding way into the subject.

    Start with relief

    Lino or soft carving blocks, a set of cutters, water-based relief ink, a brayer and a smooth surface to roll out on. That is the entire kit and it fits in a drawer.

    Soft blocks cut easily and suit bold shapes. Traditional lino resists more, holds finer detail, and is much easier to work if warmed slightly first.

    Printing without a press

    Ink the block thinly, lay the paper on top, and burnish the back with the bowl of a wooden spoon or a baren, working in small circles. Lift one corner to check coverage before committing.

    Thin, smooth paper transfers far better by hand than thick textured stock. Heavy watercolour paper is exactly the wrong choice here, which surprises people.

    Ink consistency

    Most failed prints are over-inked. The roller should sound tacky, and the block should look satin rather than wet. Thick ink fills the cut lines and blurs every edge.

    Safety and cleanup

    Cut away from your hand, always, and use a bench hook so the block cannot slide. Carving tools are sharp enough that a slip goes deep.

    Water-based inks wash off with soap and water, which is the main argument for them at home. Oil-based inks print more richly and need solvent, so they are worth it only once you have somewhere ventilated to clean up.
  • Colour Temperature, and Why Warm and Cool Mislead Beginners

    Warm and cool are useful shorthand and actively confusing when treated as fixed properties. Temperature is relative, always.

    Relative, not absolute

    Ultramarine is a cool colour in general terms, and distinctly warm next to phthalo blue. Cadmium red is warm, and cool beside a bright orange. The label describes a comparison, not the pigment.

    This is why “use cool colours for shadows” fails so often. What matters is whether a passage is cooler than the one beside it, not whether it appears on the cool side of a colour wheel.

    Where it comes from

    Each primary leans towards one of its neighbours. A yellow leaning green behaves differently in mixtures from one leaning orange, and knowing which way each of your tubes leans predicts your mixtures more reliably than any rule about temperature.

    Using it deliberately

    The reliable application is contrast within a single object. A warm light usually implies a cool shadow, and holding that relationship makes form read even when the values are close together.

    Across a whole picture, keeping most of it in one temperature and letting a small area oppose it gives the opposition somewhere to work. When everything is contrasted against everything else, nothing stands out.

    Testing your own paints

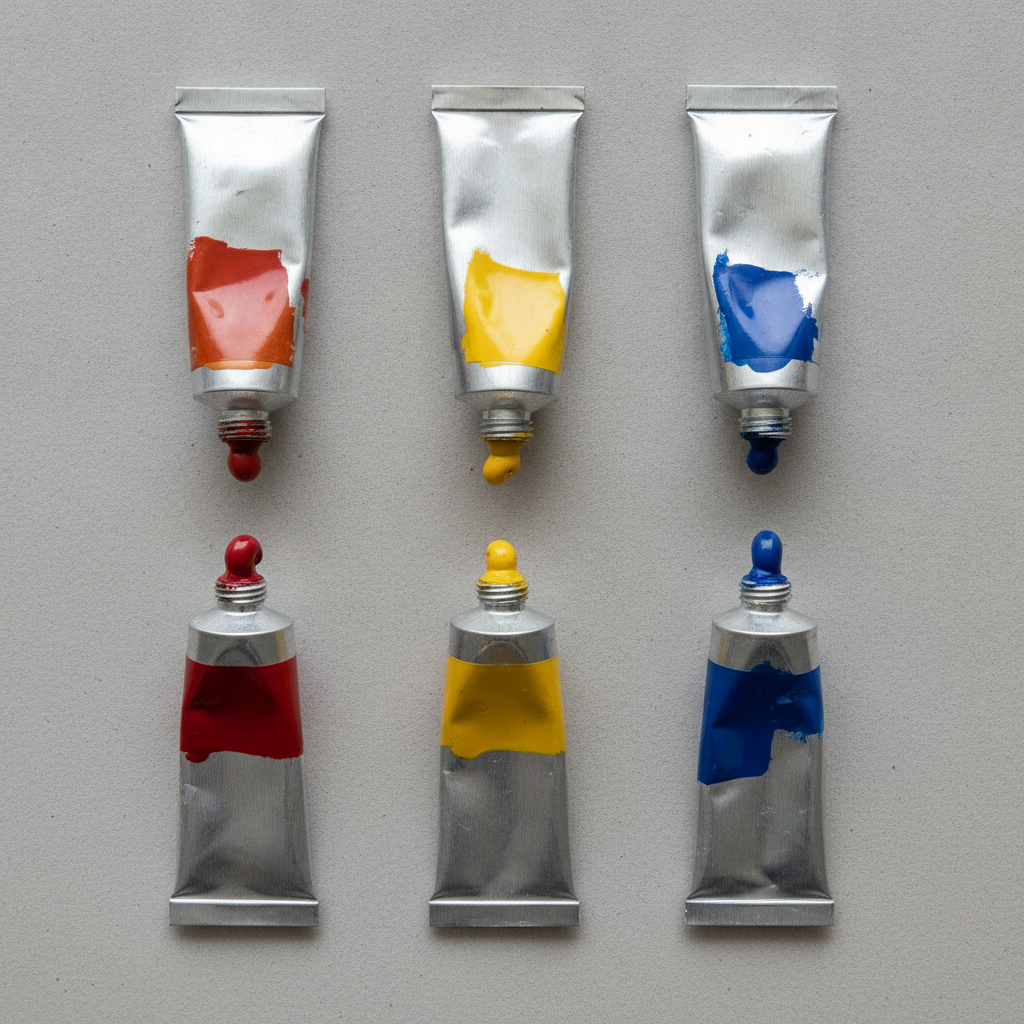
    Lay every tube you own in a row and compare them against each other rather than against a chart. The ones that surprise you, and there are usually two or three, are the ones that have been quietly ruining mixtures.

  • How to Varnish an Acrylic Painting Properly

    How to Varnish an Acrylic Painting Properly

    Varnishing protects the surface and evens out the patchy sheen that acrylic leaves. Done carelessly it is also the most reliable way to ruin a finished piece.

    Wait longer than you think

    Acrylic is touch dry in minutes and fully cured in weeks. Varnishing before the film has cured traps solvent and water underneath, which produces cloudiness that cannot be removed.

    Two weeks is a reasonable minimum for a normal thickness. Heavy impasto needs considerably longer.

    Isolation coat first

    An isolation coat of clear acrylic medium goes between the painting and the varnish. It seals the surface so that if the varnish is ever removed, the removal solvent cannot reach the paint.

    Without it, a removable varnish is not really removable, because taking it off takes some of the painting with it.

    Applying it

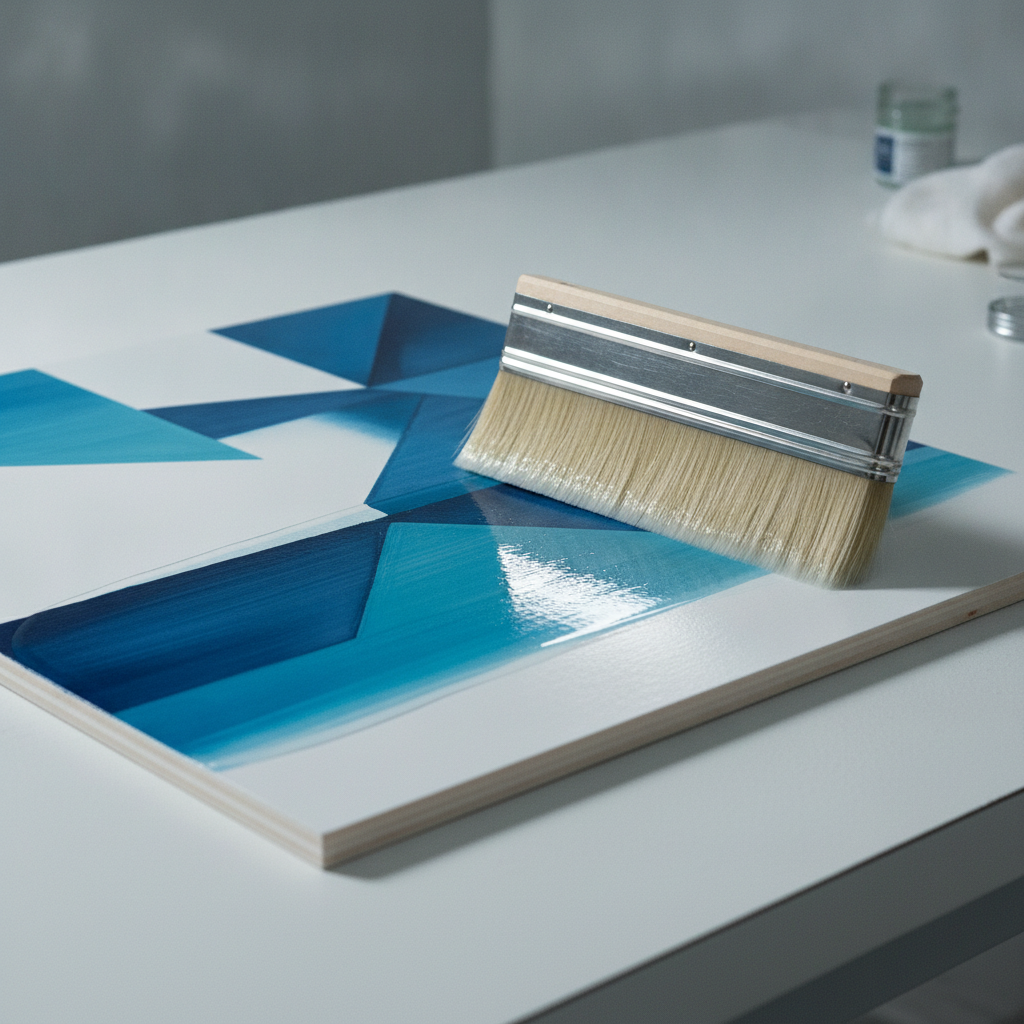
    Work flat, in a dust-free room, with the piece well lit from the side so you can see where you have been. Use a wide soft brush and lay the varnish in one direction in overlapping strokes without going back over a section that has started to set.

    Two thin coats beat one thick one, with the second at right angles to the first. Thick varnish pools at edges and stays tacky in the middle.

    Choosing the finish

    Gloss deepens colour and raises contrast. Matte flattens both and can slightly haze dark passages, since the matting agent is a suspended solid. Satin is the usual compromise. Whichever you choose, stir rather than shake, because bubbles dry in place.

    Testing

    Always test on a scrap prepared the same way, including the isolation coat. Varnish over an untested surface is a decision you cannot reverse.

  • Building a Limited Palette That Actually Works

    Building a Limited Palette That Actually Works

    A limited palette is not about self-denial. It is about mixtures that relate to each other, which is what makes a painting look coherent rather than assembled from unrelated parts.

    Warm and cool of each primary

    The most flexible small palette is six: a warm and a cool version of red, yellow and blue. That gives clean secondaries in both directions, because you can pick the two parents that both lean towards the target.

    Mixing a clean violet needs a red and a blue that both lean towards violet. Use a yellow-leaning red instead and the result is muddy, which is the usual reason people conclude they cannot mix purple.

    Add earths, not more brights

    Once six primaries are in place, the useful additions are earth colours: burnt sienna, yellow ochre, raw umber. They knock colours back believably and mix the greys that hold a painting together.

    Adding another bright, a second green or a fourth blue, tends to make things worse. It gives another option without giving another relationship.

    Learn it before extending it

    Mix a full chart, every colour against every other, and keep it. It is tedious and it removes most of the guesswork permanently. Nothing else shortens the gap between imagining a colour and mixing it.

    Where it fails

    Some pigments cannot be mixed. A genuinely intense phthalo green, a fluorescent, certain deep violets: no combination of primaries reaches them. If your subject needs one, buy it and treat it as a special case rather than trying to approximate it and accepting something dull.

  • Why Your Acrylics Dry Darker Than You Mixed Them

    Why Your Acrylics Dry Darker Than You Mixed Them

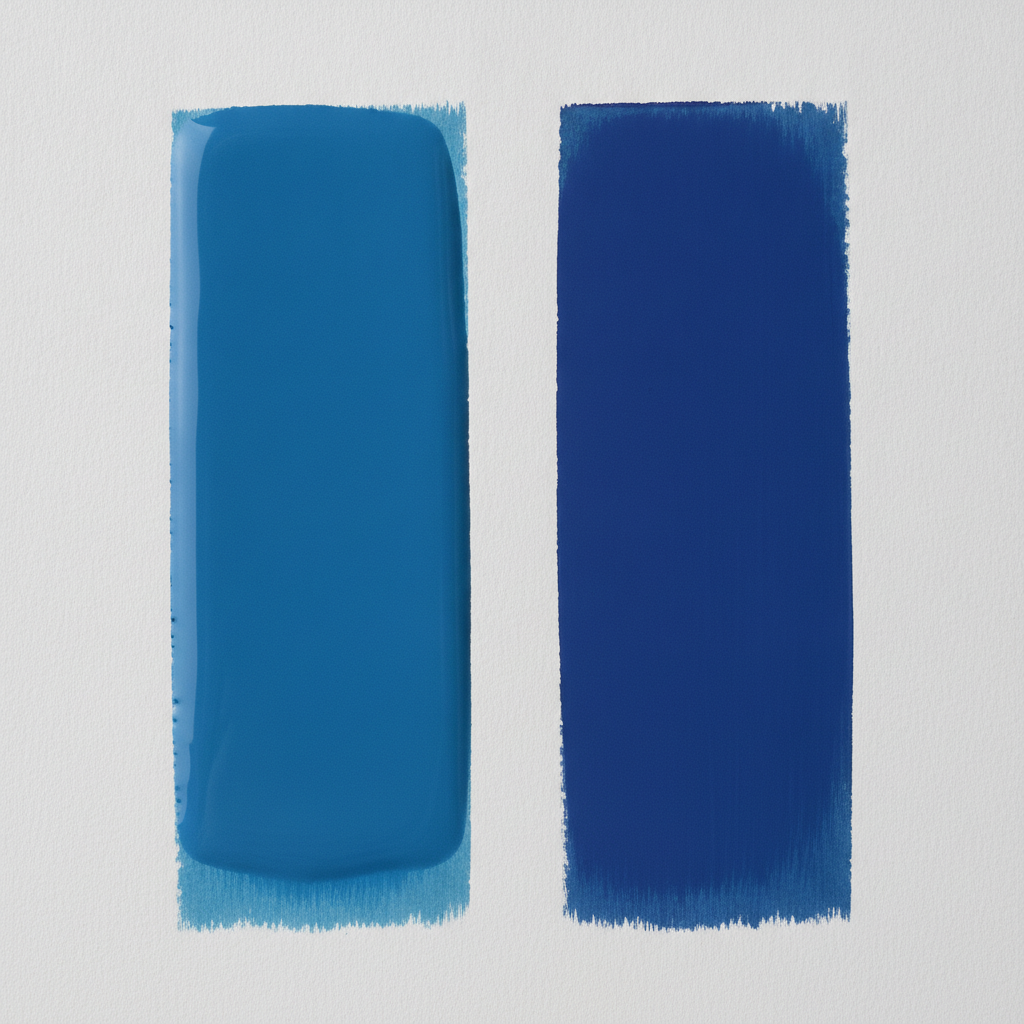
    Mix a colour, apply it, come back twenty minutes later and it is noticeably darker. This is normal acrylic behaviour, not a fault in the paint, and once you know why it happens it is easy to work around.

    The binder is the culprit

    Acrylic paint is pigment suspended in a polymer emulsion. That emulsion is milky white while wet and clear once dry. As the water leaves and the binder clarifies, it stops lightening the colour, so the pigment shows at full strength.

    The shift is largest in pale tints and mixtures containing a lot of white, because those have the most binder relative to pigment. Deep colours shift least.

    How much to allow

    Cheaper paint shifts more, because there is more filler and binder and less pigment. Artist-grade paint with a high pigment load shifts noticeably less, which is one of the practical arguments for it beyond raw intensity.

    There is no universal figure to compensate by. The only reliable method is to test the specific paint: put a stroke down, let it dry fully, and compare it against the wet mixture on the palette.

    Working with it

    Mix slightly lighter than the target if the passage must match something already dry. Keep a dried reference swatch of any colour used across several sessions, since matching wet paint on the palette to dry paint on the board is guesswork.

    A wet palette helps enormously for a different reason: it stops the mixture drying before it is used, which otherwise forces constant remixing and makes matching harder still.

    The related problem

    Acrylic also dries faster than most people expect, particularly in a warm or moving-air room. If edges are going hard before they can be blended, the answer is a retarder medium or a slower working method, not more paint.

  • How to Choose a Watercolour Brush That Lasts

    How to Choose a Watercolour Brush That Lasts

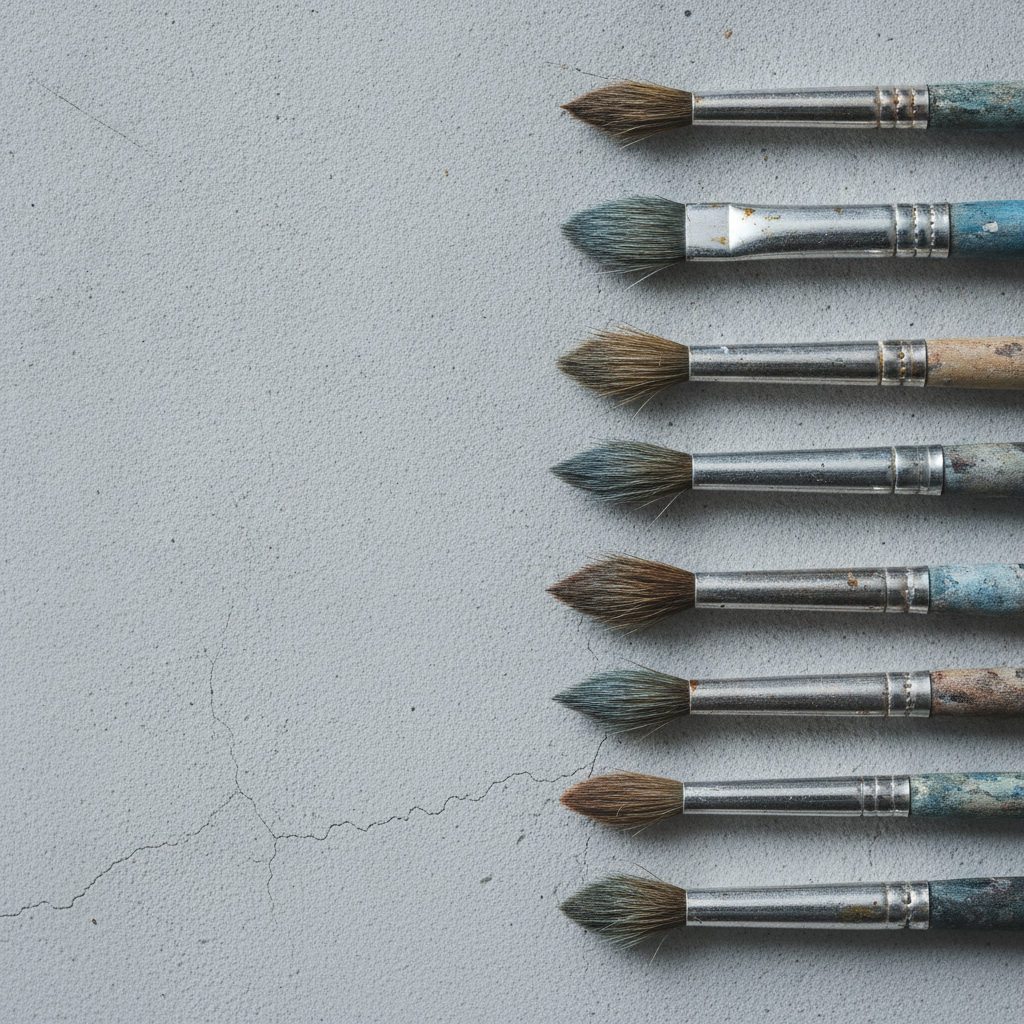
    A watercolour brush has one job that matters more than any other: hold a lot of water, then give it back slowly and under control. Almost everything else people look at when buying one is secondary to that.

    The point, and why it forms

    A good round comes to a point because the individual hairs taper. They are not cut to shape. That is the difference between a brush that keeps its point for years and one that goes fluffy after a month, and it is also most of the price difference.

    In a shop, the standard test is to wet the brush and flick it once. It should snap to a point with no stray hairs. Dry brushes in packaging tell you very little, since they are usually stiffened with gum that washes out on first use.

    Natural hair against synthetic

    Natural hair, particularly sable, holds more water and releases it gradually. That gives long, even washes and a stroke that keeps going. Good synthetics have improved enormously and have more spring, which suits precise marks and drybrush work, but most still dump their water faster.

    The practical answer for most people is a mixed set: natural hair for washes and anything that needs a long continuous stroke, synthetic for detail and for anything abrasive.

    Size, and the usual mistake

    Beginners buy brushes that are too small. A size 10 or 12 round with a decent point will do fine detail perfectly well, because the point is the point regardless of the belly behind it. What a large brush gives you is the water capacity to cross a whole sheet without going back to the palette, which is exactly what small brushes cannot do.

    Two or three brushes chosen well will outperform a set of twelve. A large round, a medium round and a flat for wetting and lifting covers most work.

    Making them last

    Never leave a brush standing in water. The hairs bend permanently and the ferrule loosens as the glue softens. Wash with lukewarm water, reshape the point with your fingers, and dry flat or hanging down.

    Soap is only needed occasionally, and hot water never. If a brush has lost its point but the hairs are intact, a wash and reshape while damp will often bring it back.